
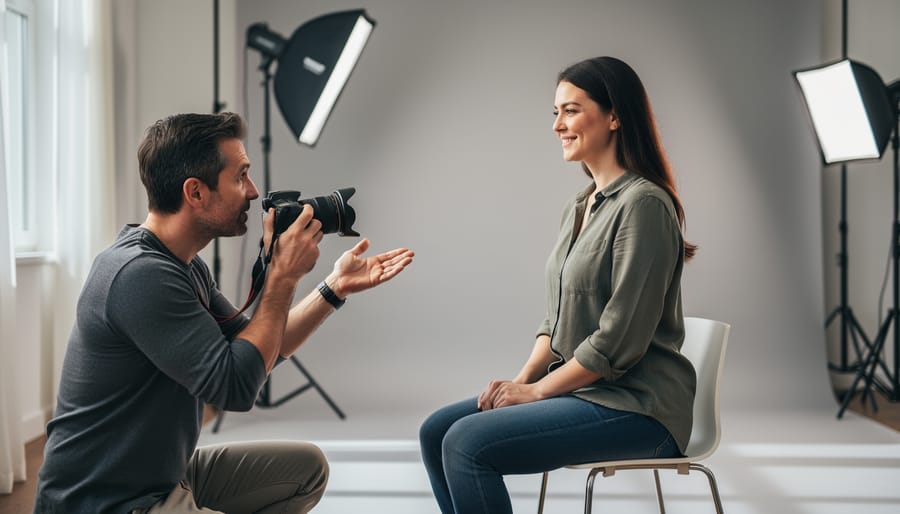
A portrait photography course transforms how you see, light, and connect with the people in front of your lens, typically through 15 or more hours of hands-on instruction that takes you from hesitant beginner to confident photographer ready to capture the genuine emotion in every frame. Whether you’re looking to shoot weddings professionally, create stunning family heirlooms, or deliver corporate headshots that make an impact, structured learning accelerates your growth far beyond what YouTube tutorials and trial-and-error can achieve. The best courses blend technical mastery with the human side of photography, teaching you not just camera settings and lighting ratios, but how to make your subjects feel comfortable, draw out authentic expressions, and tell their unique stories through images.
The learning path isn’t one-size-fits-all. Some photographers thrive in intensive weekend workshops like those offered across Saskatchewan in cities including Yorkton, Regina, Humboldt, and Saskatoon, where two full days of instruction from 9 am to 4 pm create an immersive environment. Others prefer online courses that let them practice at their own pace. What matters most is finding instruction that addresses your specific goals and teaches you to see light the way professionals do, to direct poses without making people feel stiff, and to recognize the fleeting moments that separate a good portrait from one that takes your breath away.
The investment goes beyond technique. Great portrait photography happens in the relationship between photographer and subject, in those seconds when someone forgets the camera exists and simply is. That’s what separates photographers who deliver technically perfect but soulless images from those whose work makes clients cry happy tears when they see themselves truly seen.
What You’ll Need to Begin Your Portrait Photography Journey
You don’t need a camera bag full of expensive gear to get tremendous value from a portrait photography course. A decent camera body, whether DSLR or mirrorless, gives you the foundation to learn. Most courses assume you’ll bring something that lets you control aperture, shutter speed, and ISO manually, since that’s where real learning happens. If your camera has an automatic mode, that’s fine for backup, but you’ll spend the workshop in manual or aperture priority.
The single most important piece of equipment after your camera body? A lens with a wide maximum aperture. A 50mm f/1.8 or an 85mm f/1.8 works beautifully for portraits and costs a fraction of what zoom lenses run. That wide aperture creates the soft, blurred backgrounds that draw attention to your subject’s face and eyes. If you only own a kit zoom lens, bring it. Instructors teach you to work with what you have, and honestly, understanding light and composition matters far more than your gear list.
- Camera body with manual controls (DSLR or mirrorless)
- At least one lens, ideally 50mm, 85mm, or similar focal length
- Fully charged batteries and a spare if you have one
- Memory cards with plenty of space (16GB minimum recommended)
- Notebook and pen for capturing instructor insights during demonstrations
- Comfortable shoes since you’ll be on your feet directing and shooting
Beyond equipment, prepare your mindset. These intensive workshops pack over 15 hours of instruction into two days, often running 9 am to 4 pm. You’ll absorb technical concepts quickly, then immediately apply them with live practice sessions. That repetition cements the learning in ways that reading alone never could. Come ready to ask questions, make mistakes, and push past your comfort zone.
If you’re planning to photograph people regularly after the course, familiarize yourself with basic wardrobe tips that help subjects look their best. Understanding what works on camera shows you’re thinking beyond just the technical craft.
Common Pitfalls and How to Avoid Them
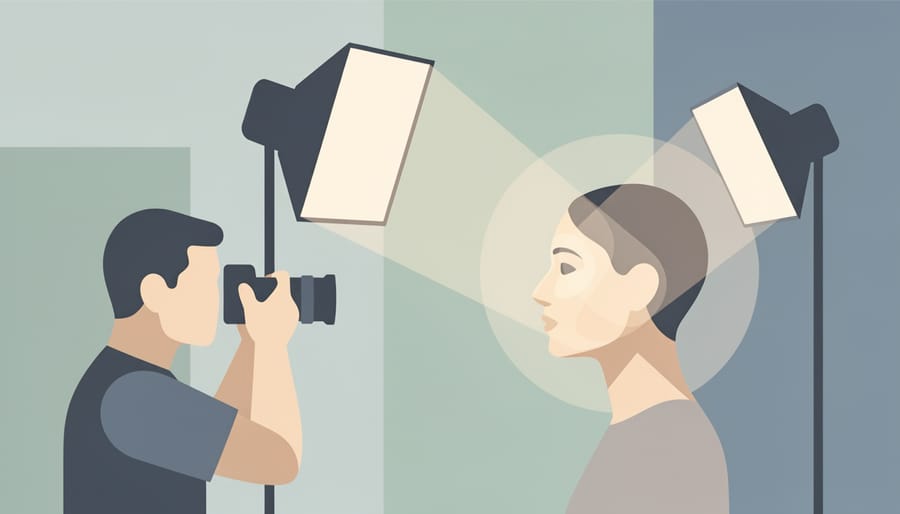
The quickest way to undermine your learning in a portrait photography course is to chase technical perfection while ignoring the human being in front of your lens. Overexposure and blown-out highlights remain common mistakes, especially when working in bright natural light or mixing ambient and flash. Your camera’s histogram becomes your best friend here, check it obsessively during your early practice sessions rather than trusting your LCD screen, which can look deceptively good in dim workshop environments.
Poor focus placement sabotages otherwise lovely portraits. Always prioritize sharp focus on the nearest eye to the camera. If both eyes aren’t equally sharp due to shallow depth of field, the closer one must be tack-sharp or the image will feel off. Many beginners focus on the nose or mouth instead, creating technically focused but emotionally disconnected images.
Awkward posing stems from unclear direction. Telling someone to “look natural” rarely works. Instead, give specific, actionable cues: “Shift your weight to your back foot” or “Bring your chin forward and down slightly.” Unflattering angles happen when you shoot from too low (emphasizing nostrils and chin) or position harsh light directly overhead, creating deep eye sockets and nose shadows.
The biggest client relationship mistake? Promising results you can’t yet deliver. Be honest about your skill level during practice sessions and early paid work. Manage expectations by showing your current portfolio, not aspirational images from photographers you admire. Respect your subject’s comfort boundaries, if someone feels awkward or asks to stop, honor that immediately. The trust you build during a shoot directly affects the authenticity you’ll capture, and that genuine connection separates snapshots from portraits worth keeping.
The Step-by-Step Path to Portrait Mastery
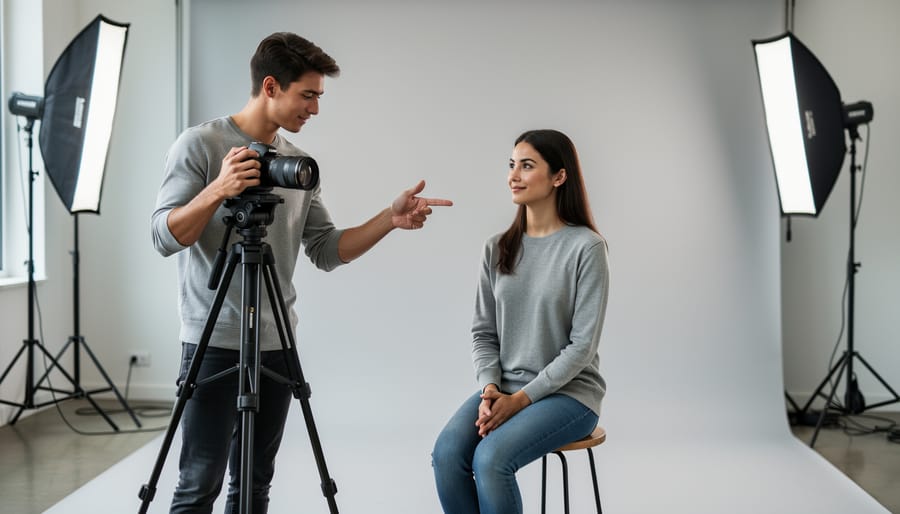
Step 1: Master Your Camera Controls
Your camera’s three core controls, aperture, shutter speed, and ISO, work together to create the soft, flattering portraits that make subjects look their best. Most beginners struggle with these settings at first, but once you understand how they interact specifically for portrait work, they become intuitive tools rather than technical obstacles.
Aperture controls the size of your lens opening and determines how much of your image stays sharp. For portraits, you’ll typically work between f/1.8 and f/5.6 to blur distracting backgrounds while keeping your subject’s face crisp. That dreamy background blur, called bokeh, happens when you use wider apertures (smaller f-numbers like f/2.8). The trick is nailing your focus: in portrait photography, the eyes must be razor-sharp. If you’re photographing someone at an angle, focus on the eye closest to the camera.
Shutter speed freezes motion. For posed portraits, 1/125th of a second works well. If you’re capturing movement or working with children, push it to 1/250th or faster to avoid blur from fidgeting.
ISO adjusts your camera’s light sensitivity. Start at 100 or 200 in good light, then increase it as needed. Modern cameras handle ISO 800 or even 1600 beautifully, so don’t be afraid to raise it rather than risk blurry shots from too-slow shutter speeds.
Most importantly, switch from automatic metering to spot metering and measure the light on your subject’s face. This ensures proper exposure on what matters most, regardless of whether the background is bright or dark.
Step 2: Understand How Light Shapes a Face
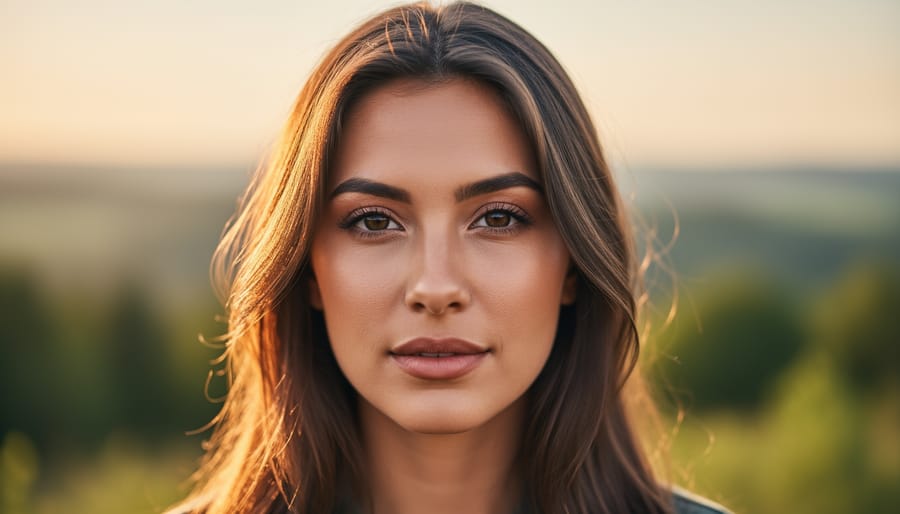
Your eyes automatically adjust to changing light conditions, pupils dilate in darkness, contract in brightness, and your brain compensates for color temperature shifts. Your camera doesn’t have this luxury. It records exactly what’s there, which is why a room that feels bright to you often produces a dark, muddy photo. Understanding this fundamental difference transforms how you approach portrait lighting.
Natural light offers the softest, most flattering quality when it’s indirect. Window light on an overcast day or in open shade wraps around your subject’s features, minimizing harsh shadows and revealing skin texture beautifully. Direct sunlight, by contrast, creates hard shadows with sharp edges, dramatic for certain moods, but often unflattering for portraits. The quality of light matters as much as its quantity.
Light direction dramatically shapes how a face appears. Front lighting flattens features, side lighting creates depth and dimension, and backlighting produces silhouettes or dreamy rim light. During your course sessions, you’ll experiment with these positions and watch how moving your subject just a few feet relative to a window completely changes the mood of the image.
Basic lighting patterns that portrait photographers rely on include Rembrandt lighting (a small triangle of light on the shadowed cheek), loop lighting (a small shadow from the nose pointing toward the mouth), and butterfly lighting (centered shadow under the nose). These aren’t arbitrary rules, they’re proven frameworks that help you create dimension and guide the viewer’s eye to your subject’s expression. You’ll practice recognizing and creating these patterns with both natural and artificial sources, learning to see light the way your camera does rather than how your eyes perceive it.
Step 3: Develop Your Compositional Eye
Composition transforms a technically correct portrait into one that tells a story. You’ll learn to place your subject intentionally within the frame, using the rule of thirds as your starting point, positioning eyes along the upper third line creates natural visual interest. But portrait composition goes deeper than grids. You’ll practice managing headroom (the space above your subject’s head) and lead room (the space in front of where they’re looking), subtle elements that dramatically affect how a viewer experiences the image.
Background selection becomes second nature through repeated practice. A cluttered background distracts from your subject’s expression, while a clean or complementary setting reinforces their story. You’ll train your eye to notice distracting elements before you click the shutter, telephone poles appearing to grow from heads, bright spots pulling attention away from faces, busy patterns competing with your subject.
The course teaches you to work with your environment rather than fight it. Whether you’re shooting environmental portraits that include meaningful context or tight headshots with dreamy backgrounds, you’ll learn how subject positioning relative to the background creates depth and separation. Simple adjustments, moving three steps left, lowering your angle slightly, asking your subject to step forward, often make the difference between an average shot and a compelling one.
Through instructor feedback and live shooting sessions, you’ll develop the habit of scanning your entire frame before pressing the shutter, ensuring every element serves your subject’s story.
Step 4: Direct and Connect With Your Subject
Your camera settings can be perfect and your lighting flawless, but if your subject looks stiff or disconnected, the portrait falls flat. The difference between a technically correct photo and one that truly captures someone comes down to your ability to create genuine connection.
Start conversations before you start shooting. Ask about their day, share something about yourself, or comment on what they’re wearing. This isn’t small talk, it’s building trust. People relax when they feel seen as individuals rather than posed objects. Your first few frames often show tension that melts away once someone forgets they’re being photographed.
Give clear but gentle direction. Instead of vague instructions like “look natural,” try specific cues: “Shift your weight to your back foot” or “Think about your favorite memory from last summer.” Making subjects feel at ease requires reading body language, if someone’s shoulders creep toward their ears, pause and have them take a breath.
Watch for micro-expressions between posed moments. That half-second when someone breaks into authentic laughter or their eyes soften thinking about a loved one? That’s your shot. Keep your camera ready and your shutter finger light, because emotion flickers quickly.
This skill can’t be learned from a manual alone, it develops through practice with real people in real sessions, which is why hands-on workshop time proves so valuable.
Step 5: Apply Your Skills in Live Sessions
This is where theory meets reality. Live practice sessions transform everything you’ve learned from abstract concepts into muscle memory and instinct.
During these hands-on shoots, you’ll work with real models in real lighting scenarios while your instructor watches, guides, and corrects in the moment. Instead of discovering mistakes days later when reviewing images at home, you get immediate feedback: “See how that shadow falls across her eyes? Shift your angle slightly left.” This real-time coaching compresses months of trial-and-error into hours of focused improvement.
The typical two-day workshop format, with over 15 hours of instruction spread across sessions running 9 am to 4 pm, allows for substantial repetition. You’ll shoot multiple setups, experiment with different lighting conditions, and direct various subjects, each iteration building confidence and refining your eye.
What makes live sessions invaluable isn’t just the practice itself, but having an experienced photographer troubleshoot alongside you. When your subject looks stiff, when the exposure confuses you, when the composition feels off but you can’t pinpoint why, your instructor identifies the problem and shows you the fix immediately. You learn not just what works, but why it works and how to adapt when conditions change.
Real-World Workshop Details Worth Knowing
Most portrait photography workshops follow an intensive two-day format that packs over 15 hours of hands-on instruction into a concentrated learning experience. Classes typically run from 9 am to 4 pm each day, giving you substantial practice time while remaining manageable enough to absorb complex concepts without burnout.
What makes these workshops particularly valuable is their accessibility. You’ll find courses in communities across Saskatchewan, Saskatoon, Regina, Yorkton, and Humboldt all host sessions, proving that quality instruction extends well beyond major metropolitan centers. This regional availability means you can access professional training without the expense and hassle of traveling to distant cities.
When evaluating course options, look for these key features:
- Dedicated practice sessions with live models, not just lecture time
- Immediate instructor feedback while you’re actually shooting
- Small class sizes that allow for individual attention and questions
- Clear breakdown between technical instruction and hands-on application
- Specific information about what equipment you’ll need versus what’s provided
The best workshops balance theory with practice throughout both days rather than front-loading lectures. You want time to apply each concept immediately, make mistakes in a supportive environment, and refine your approach before moving forward. Ask potential instructors how much actual shooting time you’ll get and whether you’ll work with different lighting setups and subject types across the two days.
How to Know You’re Ready for Client Work
You’re ready for paying clients when you can deliver consistent results even when things don’t go perfectly. If you can walk into different lighting situations, harsh midday sun, dim indoor venues, mixed artificial light, and still create flattering portraits, you’ve built the technical foundation that matters. Your camera settings should feel automatic, freeing your attention for the person in front of you rather than your equipment.
Look at your last twenty portraits together. Do they show variety in composition while maintaining consistent quality? Can you identify your deliberate creative choices in each frame, or are the good ones accidents? When you can articulate why you chose a specific angle, lighting setup, or background, you’re thinking like a professional rather than hoping for luck.
Practice with people who’ll give you honest feedback, not just compliments. Photograph friends in situations that mirror real client work: family groupings, individual headshots, couples in natural settings. Ask them to review the images critically and listen without defensiveness. If you’re consistently hearing “I’d pay for these,” you’re getting close.
Your communication skills matter as much as your technical ability. Can you make strangers feel comfortable within five minutes? Do you provide gentle, specific direction that feels collaborative rather than bossy? Professional portrait work requires emotional intelligence and confidence in leading a session, not just knowing which button to press.
When you’ve built a small portfolio that demonstrates range, received constructive critique from experienced photographers, and feel genuinely excited rather than terrified at the prospect of a paid session, you’re ready to start accepting clients.
Your Next Steps After the Course
Finishing a course marks the beginning, not the end. Schedule practice sessions with willing friends and family members, offer free mini-sessions in exchange for portfolio images and honest feedback. Start small, shooting headshots for a colleague or family portraits for neighbors, before tackling the complexity of improve skills needed for full wedding days.
Build relationships with other photographers who can offer critique, share referrals, and potentially bring you on as a second shooter. Those assisting opportunities let you gain real-world experience without the full pressure of being the primary photographer. Shoot regularly, even if unpaid initially, consistent practice cements your workshop learning far better than sporadic sessions months apart.
Document your growth journey by curating your strongest work. Show potential clients how you capture genuine emotion, not just technical competence. When couples see authentic connection in your portfolio, they’ll trust you with their own important moments, perhaps even investing in a wedding album that preserves those memories. Gradually raise your rates as your confidence and portfolio strengthen, transitioning from enthusiastic learner to trusted professional storyteller.
Common Questions About Portrait Photography Training
Starting a portrait photography course raises practical questions, and I’ve found that most photographers worry about the same handful of things before they commit. Here’s what you really need to know.
Do I need professional equipment before taking a course?
No, you need a camera that allows manual control of aperture, shutter speed, and ISO, which most DSLRs and mirrorless cameras offer. Instructors teach you to master what you have, and you’ll learn far more from hands-on practice than from expensive gear sitting in your bag.
How much photography experience do I need?
Most portrait courses welcome beginners who understand basic camera operation. If you know how to change your aperture and shutter speed, even if you’re not confident using them, you’re ready to learn the specific techniques that make portraits work.
What’s the typical time commitment for a workshop?
Intensive workshops typically run over two days with 15+ hours of instruction, often scheduled from 9 am to 4 pm. This format gives you concentrated practice with immediate feedback, which accelerates learning far beyond weekly evening classes spread over months.
How do I choose the right course for my goals?
Look for hands-on practice with live models, small class sizes that allow personalized feedback, and instructors who shoot the kind of work you want to create. Check whether the course focuses on natural light, studio lighting, or both, depending on what you’ll actually use in your photography.
The truth is, most hesitation comes from overthinking the prerequisites. Portrait photography courses are designed to meet you where you are and build from there. What matters isn’t starting with perfect skills or equipment, it’s showing up ready to practice, receive feedback, and push past the comfortable habits that keep your work from growing. Many workshops are offered in accessible locations like Saskatoon, Regina, Yorkton, and Humboldt, making quality instruction available without traveling to major cities.
The camera settings you master and the lighting techniques you learn matter profoundly, but they’re ultimately tools in service of something bigger. A structured portrait photography course gives you the technical foundation, yes, but more importantly, it teaches you how to see people, how to create space for authentic moments, and how to translate human connection into images that resonate.
This journey from knowing your gear to truly understanding your subjects doesn’t happen overnight. Formal training compresses years of trial and error into focused practice with expert guidance, giving you both the competence and the confidence to capture life’s important moments with intention. Whether you’re photographing a couple’s first dance, a family milestone, or a professional’s defining headshot, you’ll approach each frame not just as a technical challenge but as an opportunity to honor someone’s story.
Your growth as a visual storyteller begins the moment you commit to learning deliberately. The skills you develop through structured training become the foundation for every meaningful image you create, pictures that families treasure, couples revisit on anniversaries, and clients display with pride. That’s the real transformation worth pursuing.