
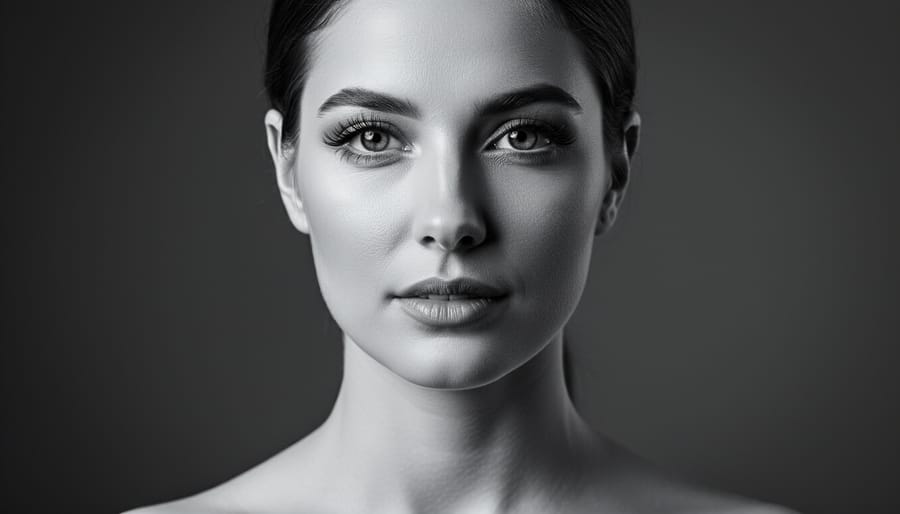
Creating stunning black and white portrait photography comes down to mastering three core elements: understanding how to see light and shadow before you press the shutter, controlling your tonal range through deliberate exposure choices, and finishing with archival-quality prints that preserve emotional depth for generations. The process transforms everyday moments into timeless art by stripping away color’s distraction and revealing the raw emotion, texture, and connection between subject and photographer.
When you remove color from a portrait, every detail matters differently. The curve of a jawline catches light. A bride’s laughter becomes pure geometry of joy. A business professional’s confidence reads in the contrast between their expression and the negative space around them. You’re not just taking someone’s picture anymore; you’re crafting a study in tone, emotion, and permanence.
The beauty of monochrome portraiture lies in its ability to bypass trends and speak directly to what’s universal: human connection, authentic expression, the interplay of light that’s existed since the very first photograph. Modern printing technologies have brought this art form full circle. Professional-grade printers now use advanced systems that render every tonal transition with remarkable consistency, producing archival prints with rich black densities and neutral gray scales that rival traditional darkroom work. These aren’t just photographs. They’re heirlooms.
This guide walks you through the complete workflow, from recognizing the right lighting conditions and camera settings through post-processing techniques and final print production. You’ll learn how to evaluate a scene for its monochrome potential, work with your subjects to draw out genuine emotion, and create prints that hold their beauty for lifetimes.
What You’ll Need: Essential Tools and Materials
Professional Printing Equipment for Archival Quality
Professional printing transforms your black and white portraits from digital files into tangible heirlooms that will last for generations. When you’ve invested time and skill in capturing meaningful moments, whether an intimate wedding ceremony, a family milestone, or a corporate headshot, the final print deserves technology that honors that work.
Professional photo printers designed for archival output deliver the consistency and tonal fidelity your portraits require. Advanced systems like those using PrecisionCore TFP Printhead technology render every tonal transition and detail with accuracy, ensuring that the subtle gradations between shadow and highlight translate precisely from screen to paper. This matters enormously in black and white work, where you don’t have color to mask imperfect tonal rendering.
The ink formulation determines longevity and tonal quality. UltraChrome inks produce a wide color gamut with a rich Dmax and neutral tonal scale, exactly what black and white portraits demand. That rich Dmax means deep, saturated blacks that anchor your image, while the neutral tonal scale prevents color casts from creeping into midtones and highlights. Your clients receive prints where skin tones remain believably neutral and shadow detail stays visible without muddiness.
Look for printers in the professional series designed so you can focus on your work rather than troubleshooting color shifts or inconsistent output. Reliability matters when you’re delivering prints for a client’s home or office, where they’ll be viewed daily for years.
Before You Shoot: Critical Considerations and Preparation
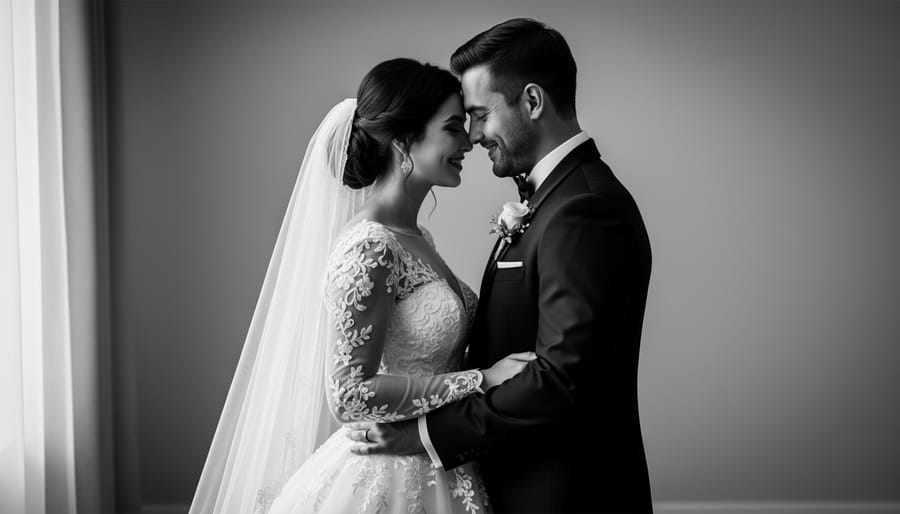
Before you press the shutter, assess whether your scene will actually work in monochrome. Strong black and white portraits depend on tonal separation, not color differences, subjects wearing clothing that contrasts with their skin tone in black and white will create dimension, while those in similar values will disappear into the background. Guide your clients on what to wear by explaining how fabrics and patterns translate to grayscale, emphasizing textures and tonal contrast over color combinations.
Lighting challenges can ruin your session before it starts. Direct overhead sun creates harsh shadows under eyes and noses that turn distracting in monochrome, while completely diffused light flattens the dimensional modeling you need. Look for directional light sources that sculpt your subject’s face with gradual tonal transitions from highlight to shadow. If the light reads flat to your eye, it’ll photograph even flatter in black and white.
Common mistakes happen during client communication, not camera settings. Explain your vision for their portraits upfront, show examples of the emotional impact you’re creating and discuss how their session location, wardrobe choices, and even makeup will translate to monochrome. When working with families or engaged couples, walk through the space beforehand to identify backgrounds with inherent contrast and visual interest that won’t compete with your subjects.
Stop if your background and subject blend into the same tonal range. A bride in white against a bright sky or a dark-suited executive against deep wood paneling will lack separation in black and white. Reposition, change your angle, or modify your lighting until you can clearly distinguish your subject from their surroundings through tone alone.
The Complete Black and White Portrait Process: Step-by-Step
Lighting Setup for Maximum Tonal Range
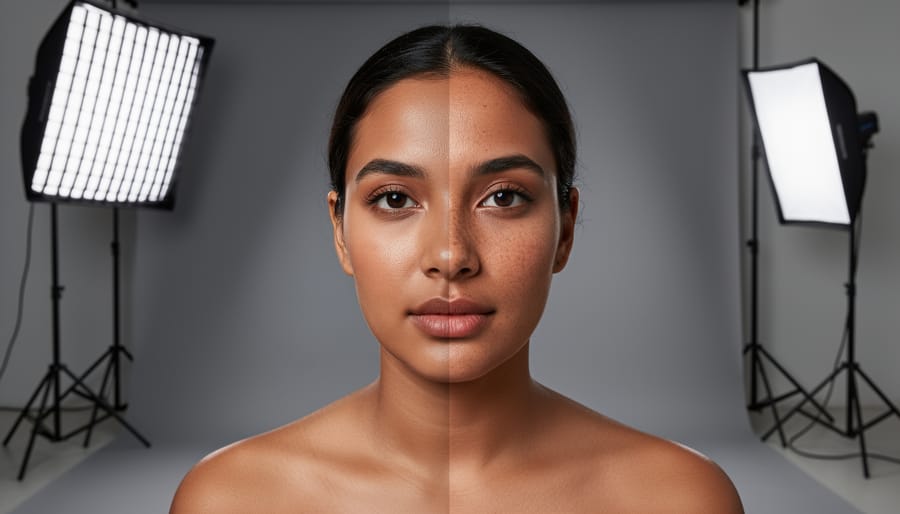
Light transforms monochrome portraits from flat documentaries into three-dimensional narratives with depth and emotional weight. Your lighting determines whether skin tones glow or turn muddy, whether catchlights spark connection or eyes recede into shadow, and whether your tonal range reveals nuance or collapses into contrast blocks.
Start with a single light source positioned 30-45 degrees from your subject’s centerline, slightly above eye level. This creates the dimensional modeling that separates great black and white portraits from snapshots, notice how the shadow side of the face gradually transitions rather than cutting hard at the cheekbone. A large softbox or umbrella (48 inches or larger) gives you the gradual tonal transitions that print beautifully, while a beauty dish delivers more defined edges for corporate headshots requiring structure.
Natural light offers unmatched subtlety when you control it properly. Position your subject near a large north-facing window, with the light striking their face at that same 30-45 degree angle. Use a white reflector opposite the window to lift shadows without flattening them, aim for detail in the shadow side, not equal brightness. For family sessions or wedding portraits where warmth matters more than precision, open shade outdoors provides wraparound light that’s forgiving on skin while maintaining enough directionality to create form.
Studio lighting gives you consistency across corporate sessions where every executive needs matching tonal quality. Your fill light should sit two stops below your key, bright enough to reveal shadow detail, dim enough to preserve dimension. Skip the hair light if you’re shooting against a light background; black and white needs clear separation between subject and backdrop through tonal contrast, not rim lighting that can blow out to white in conversion.
Camera Settings and Shooting Techniques
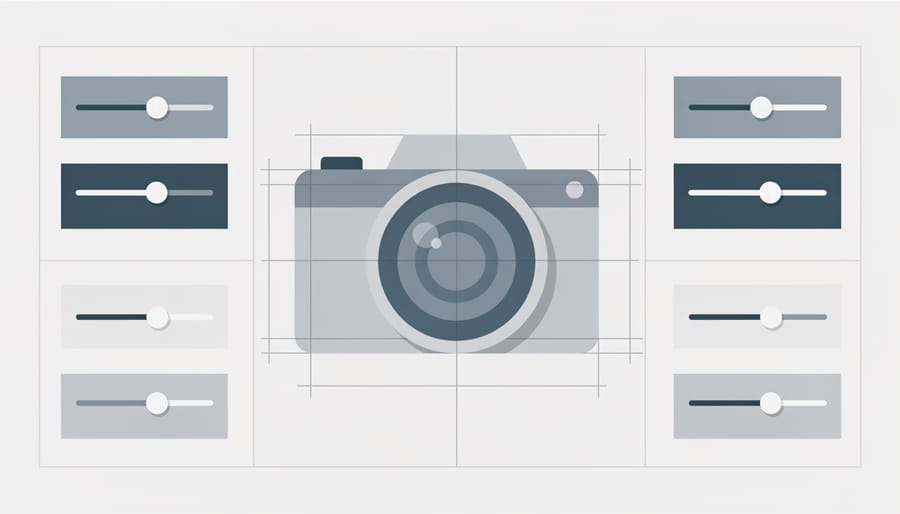
Start by shooting in RAW format, even if you set your camera to monochrome preview mode. RAW files capture the complete color information, giving you maximum flexibility during conversion, you can adjust channel mixing and tonal response in ways that JPEG conversions lock you out of. The monochrome preview on your LCD helps you visualize the final image while shooting, training your eye to see contrast and tonal relationships instead of color.
Meter for skin tones specifically, not the overall scene. Place your spot meter on the subject’s face and expose so skin falls into Zone V or VI on the tonal scale, bright enough to show texture and detail, but with room to preserve highlight information. This approach prevents blown highlights on foreheads and ensures rich shadow detail in hair and clothing.
Managing dynamic range becomes critical when you can’t rely on color separation. If your subject’s face spans more than five stops from shadow to highlight, you’ll lose detail at one end or the other. Position your lighting to compress that range, or bracket exposures if you’re shooting in challenging natural light. Watch your histogram during the session, black and white portraits need information across the entire tonal range, not clumped at the extremes.
Set your ISO as low as conditions allow. Noise that’s barely visible in color becomes glaringly obvious in monochrome, especially in smooth skin tones and even gray backgrounds. If you need faster shutter speeds for candid moments during weddings or family sessions, accept the higher ISO but know you’ll spend extra time smoothing grain during post-processing.
Directing Your Subject for Authentic Emotion
The technical precision you’ve mastered means nothing if your subjects look stiff or disconnected. Black and white photography strips away the distraction of color, which makes genuine emotion even more critical, forced smiles and awkward poses read instantly in monochrome. Start by creating conversation, not commands. Ask your wedding couple about how they met, prompt families to share a favorite memory together, or engage corporate clients about what they love most about their work. Real laughter and authentic expressions emerge when people forget they’re being photographed.
Position yourself strategically but unobtrusively. Step back with a longer lens when you want candid moments, move closer with a wider focal length when you need engagement. Watch for the pause between poses, that half-second when shoulders drop and faces soften often yields the most honest portraits. For families with young children, work quickly and follow their energy rather than fighting it. The techniques that improve wedding photography equally apply to family sessions: anticipate moments, stay alert to emotional shifts, and trust your instincts about when to shoot versus when to wait.
Pay attention to hands and body language. Crossed arms read as defensive in black and white, while relaxed hands near the face or resting naturally create intimacy. Guide your subjects with gentle suggestions, “lean toward each other slightly” or “look just past my shoulder”, rather than rigid instructions.
Post-Processing for Powerful Black and White Conversions
Start your conversion workflow immediately after importing your RAW files into editing software. The goal isn’t to manufacture drama, it’s to reveal the emotional truth already present in the tonal relationships you captured during the session.
Begin with a thoughtful channel mixer or HSL-based conversion rather than a simple desaturation. Skin tones typically benefit when you darken the red channel slightly and lighten the yellow channel, which separates facial features from the background and creates dimensional depth. For portraits, this tonal separation matters more than any blanket contrast adjustment.
Dodge and burn selectively to guide the viewer’s eye toward your subject’s expression. Lighten the iris and catchlights in the eyes, then subtly darken the edges of the frame and areas that pull focus away from the face. Work with low-opacity brushes so these adjustments feel invisible, the viewer should sense emotional connection, not your editing hand.
Manage contrast through zones rather than global sliders. A luminosity mask workflow lets you preserve delicate highlight detail in wedding veils or window-lit portraits while maintaining shadow depth that gives the image weight. You’re after a full tonal range from rich blacks to clean highlights, but every zone should hold detail and texture.
Before finalizing your edits, evaluate whether every tonal transition serves the emotional story. The technical precision matters because it creates prints that remain accurate and consistent through advanced printing technologies, but the heart of black and white portrait work lies in revealing character and capturing meaningful moments through intentional tonal choices.
Creating Museum-Quality Prints
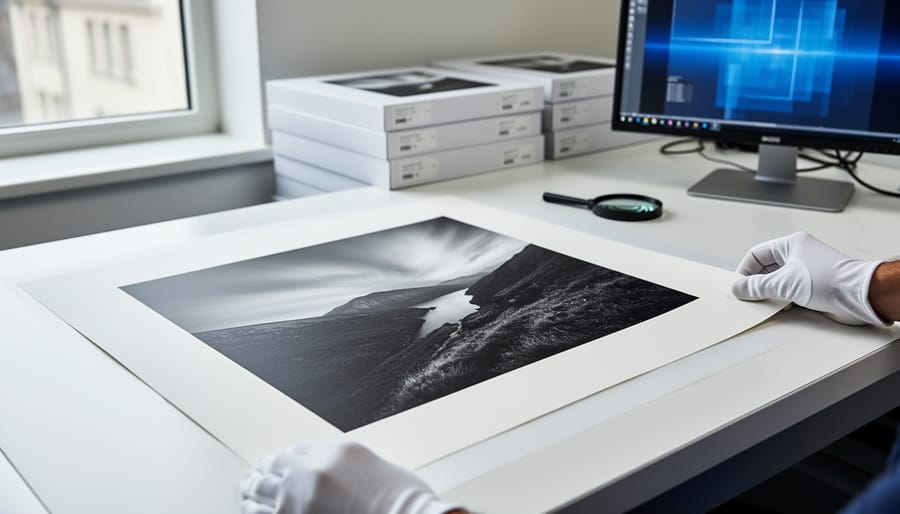
Converting your black and white portraits into museum-quality prints transforms digital files into heirloom pieces that families will treasure for generations. The transition from screen to paper reveals subtleties in tonal range that digital displays simply can’t capture.
Start with paper selection, matte fine art papers emphasize texture and depth, while glossy or lustre surfaces create sharper detail and deeper blacks. Match your paper choice to the portrait’s mood: soft, textured papers suit intimate family sessions, while smooth papers work well for crisp corporate headshots.
Professional photo printers using PrecisionCore TFP Printhead technology render every tonal transition and detail with consistency and accuracy, essential when you’re printing portraits where a client’s complexion or a wedding dress must look flawless. UltraChrome inks produce a wide colour gamut with a rich Dmax and neutral tonal scale, giving your monochrome prints the depth that makes viewers stop.
Print a test first. Evaluate it under the same lighting where it’ll hang, what looks perfect under your studio lights might appear too dark in a client’s living room. Check that skin tones maintain detail in highlights, that shadow areas stay rich without blocking up, and that the overall contrast matches your vision.
This attention to archival quality reinforces your commitment to delivering work that lasts.
Verifying Your Results and Next Steps
Once you’ve created your prints, step back and evaluate each image against both technical standards and emotional impact. Check that skin tones maintain detail across the full tonal range, from the brightest highlights to the deepest shadows, without blocking up or washing out. Look at facial features under natural light and examine whether the print reveals subtle texture and dimension, or whether contrast adjustments flattened the image. These technical checks matter whether you’re delivering a wedding album family portraits for a living room wall, or corporate headshots for a company website.
Beyond technical precision, assess the emotional resonance. Does the portrait capture an authentic moment? Would your clients recognize themselves or their loved ones in the expression and mood? Show test prints to trusted colleagues or family members and note their immediate reactions. If they respond to the feeling first and the technical execution second, you’ve succeeded.
For print longevity, archival quality means your black and white portraits will last generations without fading or colour shifts. Review your prints after several weeks to confirm tonal stability, particularly if you’re promising museum-quality heirloom pieces to wedding or family clients.
When presenting work to clients, curate selectively. Show your strongest images that demonstrate your range, intimate close-ups, environmental portraits, and candid moments, rather than overwhelming them with every frame. Build your portfolio with the same intentionality, choosing pieces that showcase versatility across weddings, families, and business settings while maintaining a consistent aesthetic voice.
To continue developing your black and white portrait style, seek regular feedback from mentors, consider a structured course focused on advanced techniques, and study master monochrome photographers who work in your preferred genres. Practice remains essential: shoot regularly, experiment with different lighting ratios, and refine your conversion workflow. Each session teaches you to see in shades of grey before you even lift the camera.
Common Questions About Black and White Portrait Photography
When should I choose black and white over color?
Black and white portraits work exceptionally well when the focus is emotional connection rather than environmental context, weddings where timeless elegance matters, family portraits emphasizing relationships across generations, or corporate headshots requiring classic professionalism. Choose monochrome when lighting creates strong tonal contrast, when color would distract from your subject’s expression, or when clients want artwork that complements any décor without competing with wall colors.
How do I prepare clients for a black and white portrait session?
Show clients sample images from similar sessions so they understand how monochrome emphasizes shape, texture, and emotion differently than color. Discuss clothing choices that create tonal separation rather than relying on color contrast, light and dark values matter more than hues. For corporate clients, explain how black and white conveys authority and timelessness; for families, emphasize the storytelling power that transcends current fashion trends.
What affects the pricing of archival black and white prints?
Print pricing reflects paper quality, size, and archival processing rather than whether the image is color or monochrome. Professional archival prints using advanced printing technologies that render every tonal transition with consistency, such as systems with PrecisionCore TFP Printhead technology and UltraChrome inks that produce rich Dmax and neutral tonal scale, command higher prices because they ensure your portraits remain vibrant for generations. Expect museum-quality prints to start around $35 for smaller sizes, with larger formats and premium papers increasing accordingly.
Can black and white photography work beautifully for all skin tones?
Absolutely, when you understand how to light and expose for different skin tones, black and white portraits celebrate the full range of human beauty. The key is metering carefully for each individual’s skin, using lighting that creates dimension without flattening darker tones or blowing out lighter ones, and post-processing that preserves the subtle mid-tone variations that give portraits depth and authenticity.
How long do professionally printed archival black and white portraits last?
Archival prints produced with professional photo printers using pigment-based inks on acid-free papers can last 100 years or more under proper display conditions, away from direct sunlight and extreme humidity. This longevity makes black and white portraits genuine heirlooms for families and lasting brand assets for corporate clients, which is why the investment in proper printing equipment and materials matters as much as the photography itself.
These questions reflect what I hear most often when engaged couples, families, and business clients first consider black and white portraits. Many assume monochrome is simply a filter applied afterward, not realizing it requires different shooting techniques, lighting approaches, and client direction from the start. The pricing question comes up frequently because clients sometimes expect black and white to cost less than color, when in reality the printing process and archival quality determine investment more than the palette.
One concern that doesn’t always get voiced but matters deeply: whether their specific skin tone, family diversity, or corporate team will photograph well in monochrome. This is where your expertise in lighting and exposure makes the difference between portraits that flatten and diminish versus images that honor and celebrate. Take time during consultations to show diverse portfolio samples that demonstrate your technical skill across the full spectrum of human beauty.
The delivery format question also deserves attention even though it didn’t make the top five above. Most clients today expect digital files, but black and white portraits truly shine as physical prints where you can appreciate the tonal range and detail that screens can’t fully convey. Offering both digital delivery for sharing and at least one archival print as part of your packages gives clients the versatility they need while ensuring they experience the full impact of your work. Professional printers designed to let you focus on your craft make this dual delivery approach practical even for busy photographers managing multiple session types.
Mastering black and white portrait photography transforms how you see light, emotion, and human connection. Stripping away color reveals what truly matters, the curve of a smile, the tenderness in a glance, the quiet confidence in a professional headshot. These are the moments that define your work, whether you’re documenting a couple’s wedding day, capturing three generations of a family, or creating executive portraits that command attention.
The technical skills matter. Understanding how light sculpts faces, knowing when to dodge and burn for maximum impact, and producing archival-quality prints that preserve these memories, all essential. But technique serves the larger purpose: creating images with heart that your clients will treasure for decades.
Each session offers new opportunities to refine your approach. That nervous bride becomes radiant when you help her relax. The restless toddler reveals authentic joy in a fleeting moment. The executive discovers confidence through your direction. These human connections, paired with your mastery of monochrome, set your work apart.
Start with the fundamentals covered in this guide, then make them your own. Experiment with different lighting ratios. Develop your post-processing style. Build relationships that turn clients into advocates. Black and white portrait photography rewards those who combine technical precision with genuine empathy, and that combination creates images that transcend trends, speaking powerfully across generations.