
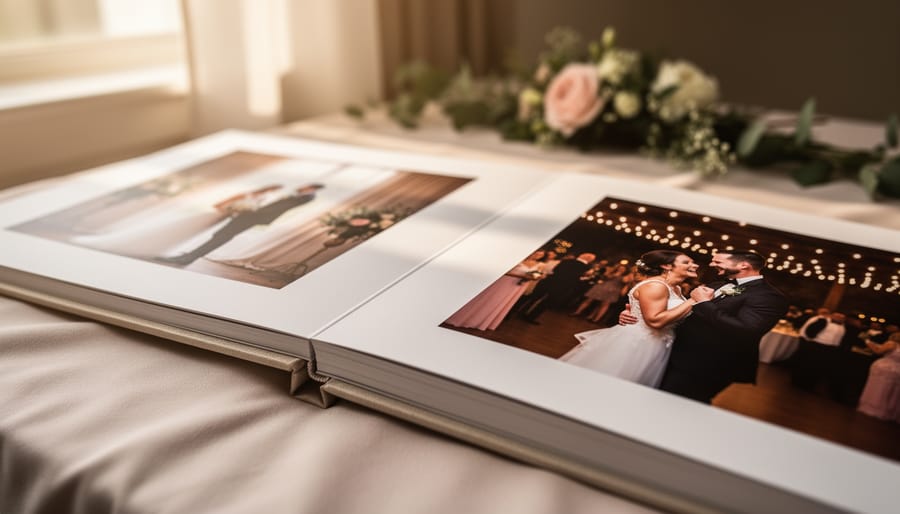
Designing a wedding album transforms hundreds of celebration photos into a curated, tangible story you’ll reach for again and again. The process follows a clear sequence: select 50-80 of your best images, choose an album style and format that matches your aesthetic, arrange photos in narrative order using design software or templates, and either print through a professional lab or work with a designer who brings expertise in pacing and layout. Most couples complete a DIY album in 8-12 hours spread over a few weeks, while professional designers deliver finished products in 4-6 weeks.
Your wedding album becomes the heirloom that survives hard drive crashes and platform changes. Unlike scrolling through thousands of digital files, a well-designed album tells your wedding day as a cohesive story, opening with anticipation, building through the ceremony, and celebrating the reception’s joy. Each spread should feel intentional, pairing complementary moments and using white space to let emotional images breathe.
The choice between designing your own album and hiring your photographer matters more than budget alone. DIY gives you complete creative control and works beautifully if you enjoy design projects and have a clear vision. Professional album design brings trained eyes that spot which moments deserve full-bleed spreads, how to balance color and emotion across pages, and which technical details like bleed margins and spine placement ensure your album opens smoothly for decades. Whether you choose the hands-on approach or expert guidance, the goal remains the same: creating something you’ll proudly display and eagerly share with the people you love.
What You’ll Need to Design Your Wedding Album
Before you start arranging photos and choosing layouts, gather everything you’ll need to make the design process smooth and efficient. Think of this as setting up your creative workspace, having the right materials and tools at hand prevents frustration and ensures your finished album meets professional quality standards.
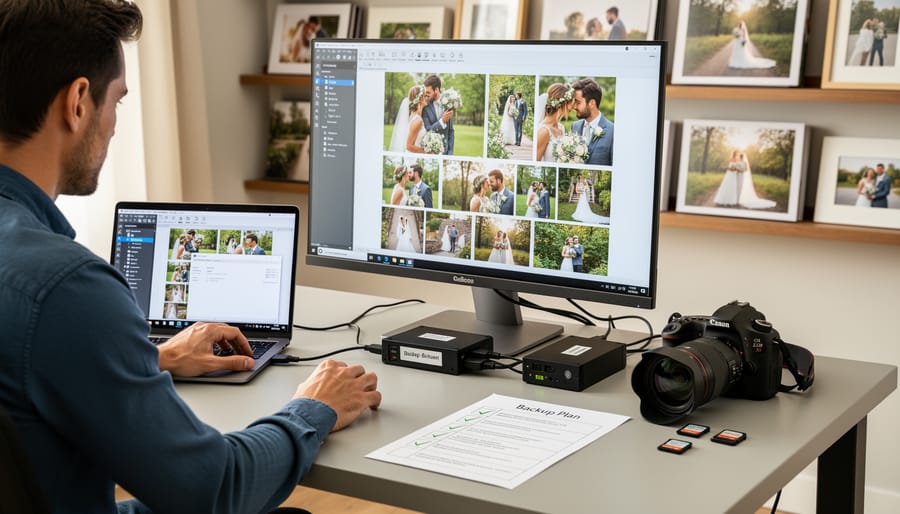
The foundation of any wedding album is access to your complete collection of high-resolution images. Contact your photographer immediately to obtain the full-resolution files, not just the web-optimized versions you might have received in an online gallery. These print-quality images, typically 300 DPI or higher, are essential for sharp, beautiful pages. Most photographers provide these files on a USB drive or through a secure download link, and they’ll often include both edited ceremony photos and reception shots organized by timeline.
For the design work itself, you’ll need:
- High-resolution photo files from your photographer (300 DPI minimum)
- Album design software like Fundy Designer, Smart Albums, or your album company’s online design tool
- Technical specifications from your chosen album vendor (dimensions, page count, bleed requirements)
- Photo organization system, folders labeled by timeline segments or a spreadsheet to track selections
If you’re creating a physical DIY album rather than ordering a professionally printed one, add archival-quality photo paper, a leather or fabric-bound album with protective sleeves, and corner mounts or acid-free adhesive to your shopping list. However, most couples today work digitally with their photographer or album company, designing layouts on screen before sending the final file for printing.
You’ll also want a second monitor if possible, it makes comparing layouts and viewing full spreads significantly easier. Set aside uninterrupted time blocks rather than trying to design in scattered moments; maintaining creative flow helps you build a cohesive visual story.
Important Considerations Before You Begin
Before you dive into designing your wedding album, take a moment to address a few critical considerations that’ll save you heartache later. These aren’t just nice-to-haves, they’re essential steps that protect your photos and set you up for success.
First, verify that you’re working with high-resolution files. Your album deserves crisp, professional-quality prints, which means you’ll need images at least 300 DPI at the size you plan to print them. Low-resolution social media downloads won’t cut it, they’ll look pixelated and disappointing in a physical album. Request the full-resolution files from your photographer if you haven’t received them yet.
Next, understand the copyright landscape. Your photographer typically retains copyright to the images, even though they’re your wedding photos. Most photographers grant printing rights as part of their packages, but always clarify what you’re allowed to do before sending files to an album company. Some photographers prefer to handle album orders directly to ensure quality control, which can actually work in your favor.
Finally, set realistic expectations about timing. Designing a thoughtful album isn’t something you’ll finish in an evening. Most couples spend several weeks reviewing photos, testing layouts, and refining their design. Starting the process within six months of your wedding keeps memories fresh, but don’t rush through decisions you’ll live with for decades. Give yourself permission to take breaks and return with fresh eyes.
Step-by-Step: Designing Your Wedding Album
Curate and Select Your Favorite Images
Start by spreading your full wedding gallery across a large screen or creating a folder system that mirrors your day’s timeline. Most couples receive 400-800 images from their photographer, and your goal is identifying 60-120 for the album, enough to tell a complete story without redundancy.
Create broad categories first: getting ready, first look, ceremony, portraits, reception details, celebration moments, and sendoff. Aim for rough proportions: 15% getting ready, 25% ceremony, 20% portraits, 30% reception, and 10% transitional moments. These aren’t rigid rules, but they prevent overloading one segment while neglecting another.
Within each category, choose images that advance the narrative. You don’t need five variations of the bouquet toss, select the one with the best expression or action. Look for emotional peaks: your partner’s face when they first saw you, your grandmother’s tears during vows, the unguarded laughter between speeches.
Include transitional shots that ground the story, the venue exterior, sunset, or quiet moment between you two. These breathers prevent visual fatigue and give context.
Be ruthless about duplicates. Similar poses or expressions from the same five-minute window dilute impact. When torn between technically perfect and emotionally resonant, choose emotion. The slightly soft image of your father’s face during your dance will matter more than the flawlessly sharp centerpiece closeup.
Organize Photos into a Story Flow
Think of your album as a visual narrative with a beginning, middle, and end, not just a random collection of beautiful images. Start with the anticipation: getting ready photos that capture nervous excitement and quiet moments before the ceremony. This opening chapter sets the emotional tone.
Flow naturally into the ceremony itself, your album’s emotional peak. Don’t rush through these pages. Give weight to the vows, the first kiss, and the walk back down the aisle. These deserve prominent placement and breathing room.
Transition into portraits and couple shots, which offer a visual pause between ceremony intensity and reception energy. Then build momentum again with reception entrance, toasts, first dance, and celebration moments.
Consider creating subtle chapter breaks by varying page layouts or using full-bleed images between sections. A stunning landscape shot of your venue can signal transition from getting ready to ceremony.
Pay attention to pacing. If you have ten photos of cake cutting, choose two or three that tell the complete story. Repetition exhausts viewers. Instead, aim for variety in moments, emotions, and composition styles.
The final pages should wind down gently, perhaps ending with a quiet couple portrait or a wide shot of your celebration in full swing, leaving viewers with a sense of completion and joy.
Choose Your Album Layout Style
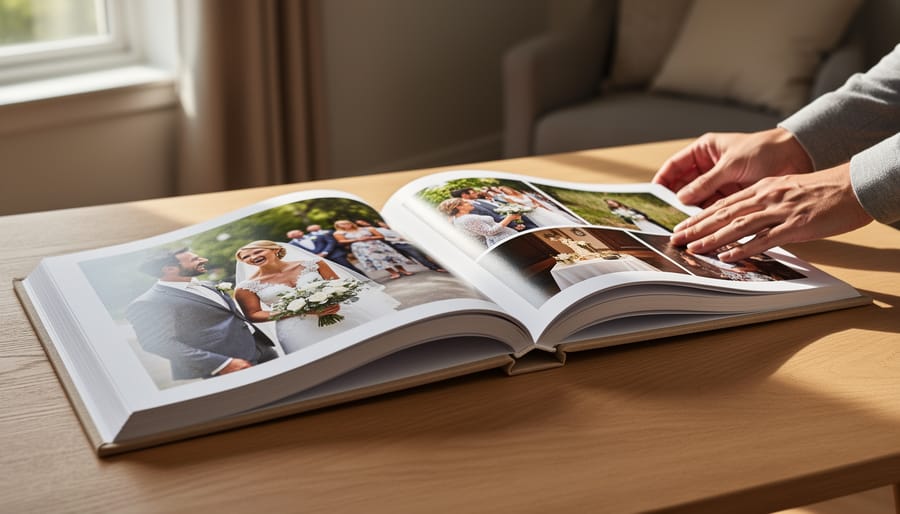
The layout style you choose sets the visual rhythm and emotional tone of your entire album. A classic single-image-per-page approach creates breathing room and emphasizes each photograph as a standalone moment. These layouts work beautifully for dramatic portraits and key ceremony images, giving them the space to shine without distraction.
Modern collage layouts pack multiple photos onto each spread, ideal for capturing the energy of your reception or showing different angles of one moment. This style tells more story per page but requires careful balance, too many images can feel cluttered and overwhelm the eye.
Most couples find a mixed approach works best. Use full-page layouts for your most powerful images, the first look, the kiss, sunset portraits, then switch to collages for getting-ready sequences or dance floor candids. This variety creates natural pacing that mirrors how your day actually unfolded, alternating between quiet intimate moments and joyful celebration.
Your photographer can show you sample layouts to visualize how each style frames your specific images.
Design Individual Page Spreads
When you open to any spread in your album, both pages should work together as a single canvas. Start by placing your strongest image first, whether that’s a stunning portrait, an emotional ceremony moment, or a detail shot that sets the mood. This anchor image guides how you arrange the remaining photos on that spread.
Think in odd numbers when possible. A layout with three or five images often feels more dynamic than two or four. But don’t force it; some spreads shine with just one powerful full-bleed photo.
White space is your friend, not wasted real estate. Leaving breathing room around images prevents that cluttered scrapbook feel and draws the eye to what matters. If you’re filling every inch, you’re probably including too much.
Vary your image sizes deliberately. Pair a large hero shot with smaller supporting images that provide context or detail. A sweeping reception photo might sit alongside intimate close-ups of your rings or table settings.
Watch your sight line, the center where facing pages meet. Avoid placing important faces or details right in the gutter where they’ll disappear into the binding. Pull critical elements at least half an inch away from that fold.
Test each spread by stepping back. Does your eye know where to look first? Does the layout feel balanced without being symmetrical? If it feels chaotic or boring, adjust before moving on.
Add Captions and Personal Touches
Text can transform your album from a photo collection into a deeply personal narrative, but restraint is key. Start with the essentials: your names and wedding date on the title page or opening spread. Beyond that, add text only where it genuinely enriches the story.
Consider placing your ceremony location beneath key moments, or including a brief vow excerpt on a quiet portrait page where it won’t compete with action shots. Short captions work beautifully for details that aren’t visually obvious, perhaps “Dad’s vintage cufflinks” under a getting-ready detail, or “First dance to ‘our song'” beside that image.
Keep font choices classic and readable. Stick to one or two typefaces throughout, ensuring text complements rather than overwhelms your photos. Most importantly, every word should add meaning. If the image speaks for itself, let it.
Review and Refine Your Design
Take a break from your design work for at least 24 hours before your final review, fresh eyes catch details you’d otherwise miss. Print a contact sheet or view your entire album layout on a large screen to assess the overall flow and visual rhythm.
Check each spread for consistent editing styles, balanced image sizes, and proper sequencing. Zoom in to verify that faces are sharp and well-exposed. Then share the draft with your partner and your photographer for feedback on both the storytelling arc and technical quality before sending it to print.
How to Know Your Album Design Is Complete
Knowing when your album design is truly complete requires both a critical eye and an emotional gut check. Start by reviewing the entire album as if you’re seeing it for the first time, does the story flow naturally from getting ready through your final dance? Check that you’ve included key moments: ceremony highlights, family portraits, couple portraits, and reception celebrations. Look for technical issues like photos that appear blurry, faces that are cut off awkwardly, or spreads where text overlaps important details.
Test the pacing by flipping through slowly. Do certain sections feel rushed while others drag? Your album should build anticipation, peak during the ceremony and portraits, then ease into the joyful celebration. Ask your partner to review independently, then compare notes. Sometimes a fresh perspective catches repetitive layouts or missing moments you’ve overlooked.
Once you’ve made final tweaks, request a printed proof if your album company offers one. Seeing the actual size and paper quality helps confirm your vision translates well to print. After approval, most professional albums take four to eight weeks for production, depending on complexity and customization. When your finished album arrives, handle it with clean hands and store it away from direct sunlight and humidity. Consider ordering a duplicate or digital backup for safekeeping, this heirloom deserves protection.
Your album is complete when you can open it, relive your wedding day through its pages, and feel that rush of emotion all over again.
Why a Professionally Designed Album Is Worth It
While you can absolutely design your own album, there’s real value in trusting your photographer with this final chapter of your wedding story. They’ve already guided you through wardrobe tips and captured frame-worthy wedding photos. Now they bring that same visual expertise to album design, understanding exactly which moments deserve full spreads and how to build emotional pacing across pages.
Professional designers save you hours of decision fatigue. Instead of wrestling with layout software and second-guessing cropping choices, you’ll review a polished proof that tells your story beautifully. Your photographer knows their images intimately, the technical nuances, the lighting that makes certain shots sing, the candid moments that deserve prominence.
They also understand print production in ways most couples don’t. Paper weight, color calibration, binding durability, these details separate albums that last generations from those that fade or fall apart. Whether you celebrated with barn wedding ideas or something entirely different, a professionally designed album ensures those memories remain vibrant and intact for your children and grandchildren.
The investment extends beyond the physical product. It’s peace of mind, time reclaimed, and the confidence that your love story is preserved as beautifully as it deserves.
Common Questions About Wedding Album Design
Couples often have similar questions when starting their album design journey, and understanding what to expect helps the process feel less overwhelming.
How many photos should I include in my wedding album?
Most couples include 60-120 images in a standard album, depending on size and layout style. This range allows you to tell your complete story without overwhelming viewers or creating a book that’s too heavy to handle comfortably.
How long does the design process typically take?
From initial photo selection to final approval, most couples spend 2-4 weeks on design when working with a photographer, or 4-8 weeks if designing independently. Starting within 3-6 months of your wedding ensures the day feels fresh in your memory.
Can I make changes after seeing the first design?
Yes, most photographers include one or two rounds of revisions in their album packages. You’ll typically review a digital proof where you can request layout adjustments, photo swaps, or other refinements before printing.
Should I design the album myself or have my photographer do it?
Your photographer brings expertise in visual storytelling, print quality, and efficient design that saves you considerable time and stress. While DIY is possible, professional design ensures cohesive results and leverages their understanding of which images print beautifully.
These answers address the most common concerns, but don’t hesitate to ask your photographer specific questions about their process, pricing structure, or timeline expectations. Every professional has slightly different workflows, and understanding theirs upfront prevents surprises later.
Your wedding album is more than a collection of images, it’s the story of one of the most important days of your life, preserved in a form you can hold, share, and cherish for decades to come. While thousands of digital files might sit untouched on a hard drive, a beautifully designed album invites you to relive those moments again and again, whether you’re curled up on the couch on your anniversary or sharing your story with your children someday.
The album storytelling process works best when you start while the memories are still vivid and emotions fresh. Don’t wait years to begin, those details and feelings you want to capture fade faster than you might expect.
If the design process feels overwhelming, remember that your photographer is there to help. They know your day intimately and understand how to craft a narrative that honors your unique love story. Together, you’ll create something tangible and beautiful that future generations will treasure, a legacy that connects them to your love and the beginning of your family’s story.